Prerequisites:
Installed dependencies in the previous article
You should already have the following installed and working:
- Apache or Nginx web server
- PHP with required extensions
- MySQL/MariaDB server
- HTTPS configured with Let’s Encrypt
- Download phpMyAdmin
root@frhb95653flex:~# wget -P ~/Downloads https://www.phpmyadmin.net/downloads/phpMyAdmin-latest-all-languages.tar.gz2. Verify the GPG Signature (Optional but Recommended) – Download and import keyring
root@frhb95653flex:~# wget -P ~/Downloads https://files.phpmyadmin.net/phpmyadmin.keyring
cd ~/Downloads
gpg --import phpmyadmin.keyring
3. Download the .asc file that matches your downloaded version:
root@frhb95653flex:~# wget https://www.phpmyadmin.net/downloads/phpMyAdmin-latest-all-languages.tar.gz.asc4. Verify the archive using the downloaded .asc file:
root@frhb95653flex:~# gpg --verify phpMyAdmin-latest-all-languages.tar.gz.ascUnpack and Move phpMyAdmin
- Create a target directory under Apache’s web root:
sudo mkdir /var/www/html/phpMyAdmin- Extract the downloaded archive to that directory:
sudo tar xvf phpMyAdmin-latest-all-languages.tar.gz --strip-components=1 -C /var/www/html/phpMyAdmin
Configure phpMyAdmin
- Copy the sample configuration file:
root@frhb95653flex:~/Downloads# sudo cp /var/www/html/phpMyAdmin/config.sample.inc.php /var/www/html/phpMyAdmin/config.inc.php2. Edit the configuration file
root@frhb95653flex:~/Downloads# sudo nano /var/www/html/phpMyAdmin/config.inc.php
- Set a secret passphrase for the blowfish cipher:
Find the following line:
$cfg['blowfish_secret'] = '';
Change it to:
$cfg['blowfish_secret'] = 'My_Secret_Passphras3!';
Use a long, secure, random passphrase. Then save and exit the file (Ctrl + X, then Y and Enter). Generate the password on this page and write it down: PMA Blowfish Secret Generator
Secure Permissions
- Set proper permissions for the config file
root@frhb95653flex:~/Downloads# sudo chmod 660 /var/www/html/phpMyAdmin/config.inc.php2. Change ownership of the phpMyAdmin directory:
root@frhb95653flex:~/Downloads# sudo chown -R www-data:www-data /var/www/html/phpMyAdmin- Restart Apache to apply changes:
root@frhb95653flex:~/Downloads# sudo systemctl restart apache2Access phpMyAdmin in Browser
Open your web browser and navigate to: You set up the login credentials in the previous article.
https://test.aniq.eu/phpMyAdmin/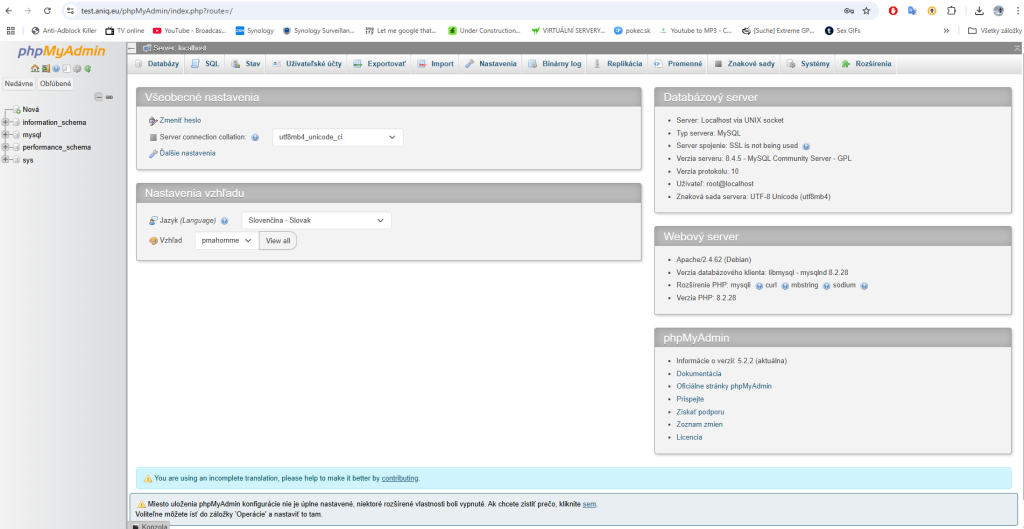
Source: PMA Blowfish, phoenixNAP
1 thought on “phpMyAdmin Installation Guide for Debian 12”